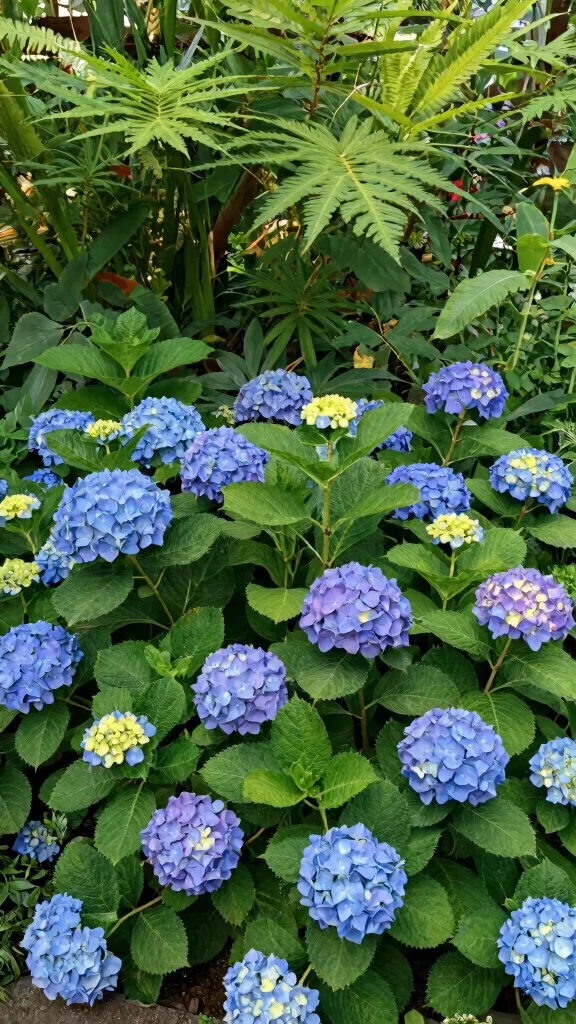
Creating a stunning garden filled with hydrangeas can feel like an impossible task, especially if you don’t know what to watch out for. Hydrangeas are a favorite among gardening enthusiasts for their beautiful blooms and vibrant colors, but many people unknowingly make mistakes that can stifle their growth. I’ve written this post to help you avoid those common pitfalls and keep your hydrangeas flourishing throughout the seasons.
If you’re a passionate gardener or just starting out, this guide is for you. You care about your plants and want them to thrive, but you might be unsure of the best practices for hydrangea care. Fear not! You’ll find clear advice on the most common mistakes to avoid, from soil quality to winter protection, and even how to use baking soda for hydrangeas to enhance their bloom.
By the end of this post, you will feel more confident in your gardening skills and have actionable tips to ensure your hydrangeas become the show-stoppers of your garden. Let’s dive in and make your garden as gorgeous as you’ve always dreamed it could be!
Key Takeaways
– Soil Quality Matters: Always check your soil type and pH levels, as hydrangeas prefer specific conditions to thrive.
– Watering Wisely: Learn the signs of overwatering and underwatering to keep your hydrangeas hydrated without drowning them.
– Sunlight Needs: Different hydrangea varieties require different sunlight levels. Pay attention to your plant’s specific needs to promote healthy growth.
– Pruning Timing: Know when to prune your hydrangeas based on their type. Pruning at the wrong time can prevent blooms from forming.
– Regular Maintenance: Consistent care, including deadheading and pest control, is essential for maintaining beautiful, healthy hydrangeas in your garden.
1. Neglecting Soil Quality
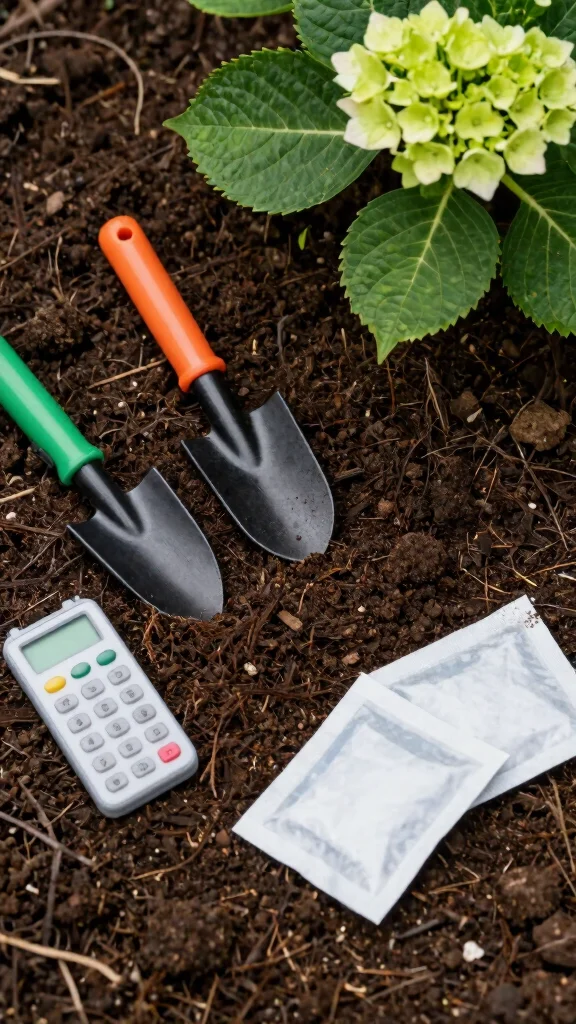
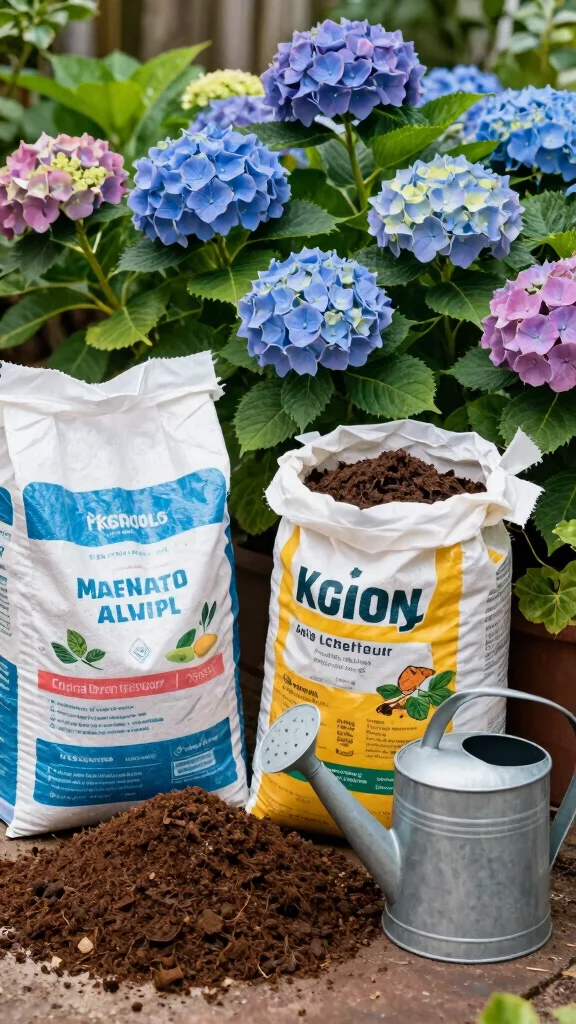
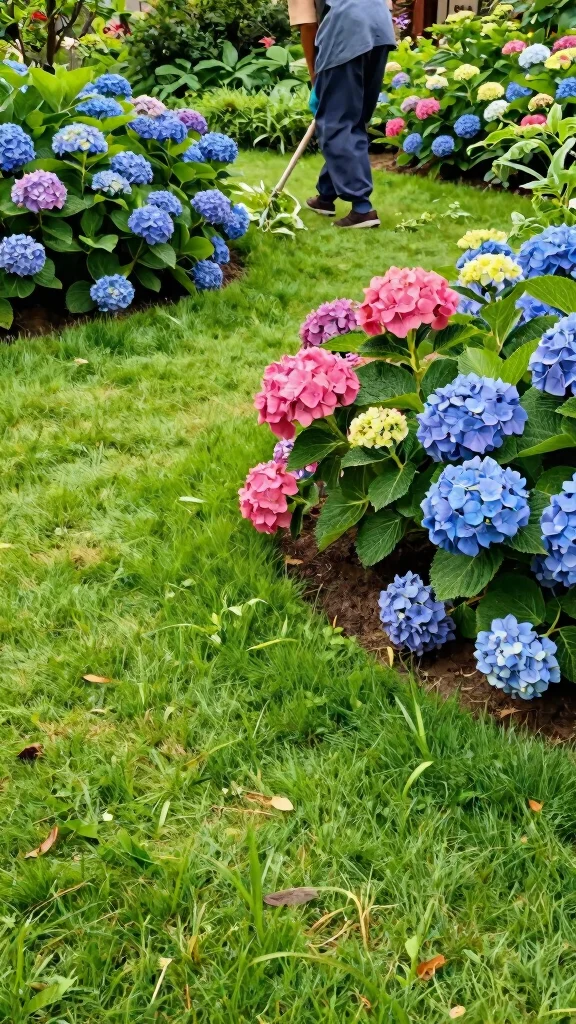
Quality soil is the heart of a flourishing hydrangea garden. Many gardeners underestimate its significance, resulting in disappointing blooms. Rich, well-drained soil that retains moisture without becoming soggy is essential for vibrant flowers. Testing your soil’s pH can also make a big difference; blue flowers thrive in acidic soil, while pink ones prefer alkaline conditions. Knowing this can enhance your garden’s beauty immensely.
Start by enriching your soil with organic materials like compost or well-rotted manure. If you want to adjust the pH, a sprinkle of baking soda can shift your blooms toward pink hues. Understanding these options allows you to cultivate the healthiest hydrangeas.
Key soil care tips:
– Test your soil’s pH before planting
– Amend with organic matter for richness
– Adjust pH with baking soda for pink blooms
Healthy soil sets the foundation for stunning hydrangeas that will impress all season long.
Ongoing Maintenance & Care Guide
Maintenance Schedule:
Daily/Weekly Tasks:
– Watering: Check the moisture level in your hydrangea containers. Water them if the top inch of soil feels dry. This takes about 5-10 minutes.
– Fertilizing: Apply a balanced fertilizer once a week during the growing season. This will help promote vibrant blooms and healthy growth, taking about 10 minutes per application.
– Pest Inspection: Look for any signs of pests or disease. This includes checking the leaves for spots or webbing. Spend about 5 minutes doing a quick inspection.
Monthly/Seasonal Tasks:
– Pruning: Trim dead or damaged branches monthly during the growing season. This helps keep your plants healthy and encourages blooming. Allocate about 30 minutes for this task.
– Soil Testing: Test the soil pH once a month. Hydrangeas thrive in slightly acidic soil (pH 5.5-6.5). You can find soil test kits at garden centers and it takes about 15 minutes to conduct and understand the results.
– Mulching: Add a fresh layer of mulch around your hydrangeas every month. This conserves moisture and suppresses weeds. Expect to spend about 20-30 minutes for a fresh application.
Maintenance Summary Table:
| Task | Frequency | Difficulty Level | Time Needed |
|—————————-|——————|——————|——————|
| Watering | Daily/Weekly | Easy | 5-10 minutes |
| Fertilizing | Weekly | Easy | 10 minutes |
| Pest Inspection | Daily/Weekly | Easy | 5 minutes |
| Pruning | Monthly | Moderate | 30 minutes |
| Soil Testing | Monthly | Easy | 15 minutes |
| Mulching | Monthly | Easy | 20-30 minutes |
Common Issues to Watch For:
⚠️ Wilting Leaves: If your leaves appear droopy, check the soil moisture. This could mean overwatering or underwatering.
⚠️ Discoloration: Yellowing leaves can indicate nutrient deficiencies or poor soil quality. Test your soil pH and consider fertilizing more frequently.
⚠️ Pest Damage: Look for holes, webbing, or sticky residue on the leaves. This may signal pest infestations. Regular inspections can help catch these issues early.
Care Tips:
💡 Use Baking Soda: A sprinkle of baking soda around your plants can help neutralize overly acidic soil. This promotes healthy blooms and can improve overall plant vigor. Just a tablespoon per plant can make a difference!
💡 Water Deeply: Instead of shallow watering, focus on deep watering sessions. This encourages the roots to grow downwards, making your hydrangeas more drought-resistant. Aim for about 1-2 inches of water per week, especially during dry spells.
💡 Choose the Right Container: Ensure your container is at least 12 inches wide. This allows for better root growth and drainage. Proper drainage is essential to prevent root rot.
💡 Rotate Plant Locations: If you’re growing in containers, rotate their positions every few weeks. This gives all plants equal access to sunlight and can help prevent diseases.
💡 Keep Them Clean: Wipe down leaves with a damp cloth if they accumulate dust. This helps the plant photosynthesize better and can keep pests at bay. Spend about 5 minutes per week on this routine.
2. Overwatering or Underwatering
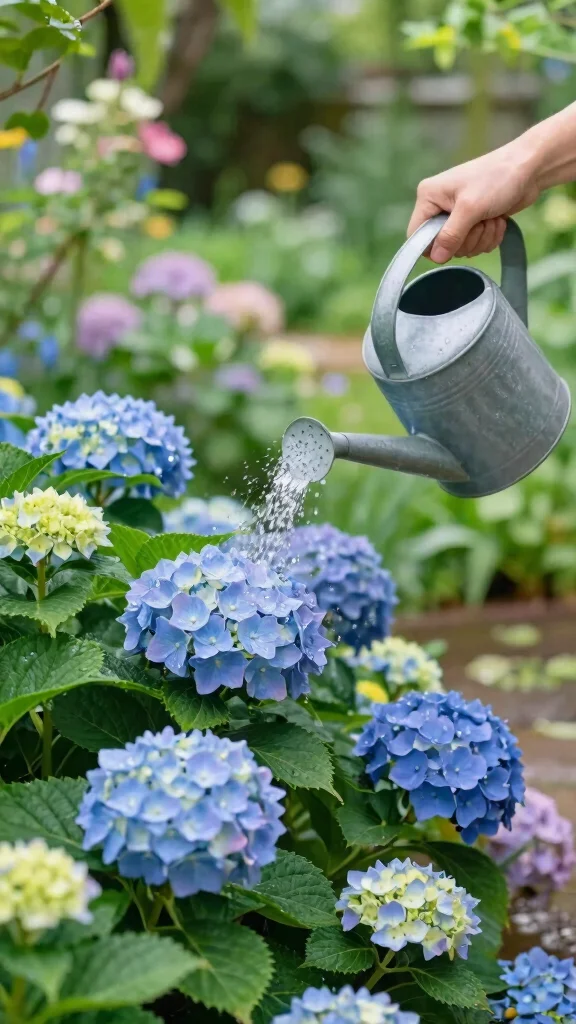
Finding the right watering balance for hydrangeas can be tricky! Too much water can lead to root rot, while too little can cause wilting. These beautiful plants prefer consistent moisture, especially during the growing season. Checking the soil regularly helps determine when to water; if the top inch is dry, it’s time to give them a drink.
Container plants generally require more frequent watering than those planted in the ground. Consider using self-watering pots or adding moisture-retaining crystals to maintain an ideal hydration level. This approach ensures that your hydrangeas stay happy and healthy.
Watering strategies:
– Monitor soil moisture regularly
– Use self-watering pots for convenience
– Add moisture-retaining crystals for stability
Finding the perfect watering routine will keep your hydrangeas thriving and blooming beautifully throughout the season.
3. Ignoring Sunlight Needs
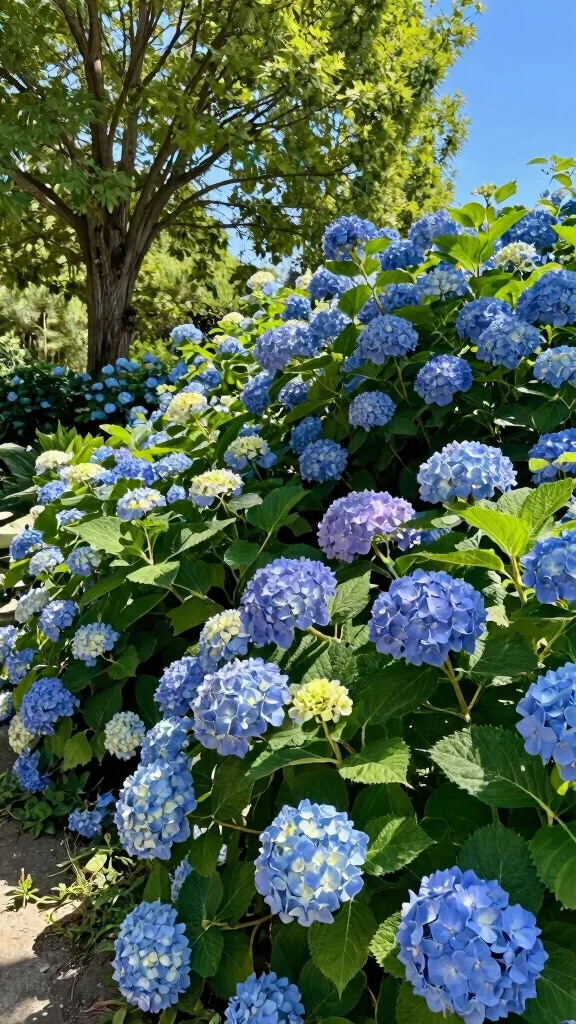
Every hydrangea has specific sunlight requirements that you must respect for optimal blooming. While some varieties love full sun, others thrive in partial shade. Many gardeners make the mistake of placing their hydrangeas in too much sun, leading to scorched leaves and lack of blooms. Conversely, insufficient sunlight can result in weak growth and fewer flowers.
Research the particular variety of hydrangeas you have to understand their sunlight preferences fully. Observing your garden throughout the day can help you determine how much sun different areas receive. This knowledge will help you select the perfect spot for your plants.
Sunlight tips:
– Identify the sunlight needs of your hydrangea variety
– Observe sunlight patterns in your garden
– Choose the right planting location based on sun exposure
By aligning with your hydrangeas’ natural needs, you’ll create the best conditions for vibrant blooms.
You Might Also Like
4. Pruning at the Wrong Time
Knowing when to prune hydrangeas can make all the difference for next year’s blooms. Pruning at the wrong time can sacrifice your plant’s flowering potential! Different varieties bloom on either old or new wood, meaning some should be pruned right after flowering, while others can be trimmed back in late winter or early spring.
Familiarizing yourself with your specific variety’s pruning schedule can help you avoid costly mistakes. Regular deadheading encourages new blooms but should be done carefully to maintain the plant’s health.
Pruning tips:
– Learn your hydrangea’s pruning schedule
– Deadhead blooms regularly to promote new growth
– Prune with sharp, clean tools for best results
Getting pruning right will ensure a vibrant and blooming garden season after season.
5. Using the Wrong Fertilizer
Using the right fertilizer can significantly impact your hydrangeas’ health, but the wrong type or excessive amounts can cause problems. A balanced fertilizer with a 10-10-10 ratio is often recommended. Timing your application also matters; fertilizing too late can promote new growth that won’t survive the winter.
Applying a slow-release fertilizer in early spring can provide essential nutrients without overwhelming your plants. Exploring organic options, such as fish emulsion or compost tea, is a great way to nourish your hydrangeas without chemical risks.
Fertilizing essentials:
– Use balanced fertilizer with a 10-10-10 ratio
– Apply in early spring for best results
– Explore organic options for safer feeding
Feeding your hydrangeas properly leads to a flourishing garden filled with vibrant blooms.
6. Planting Too Deep
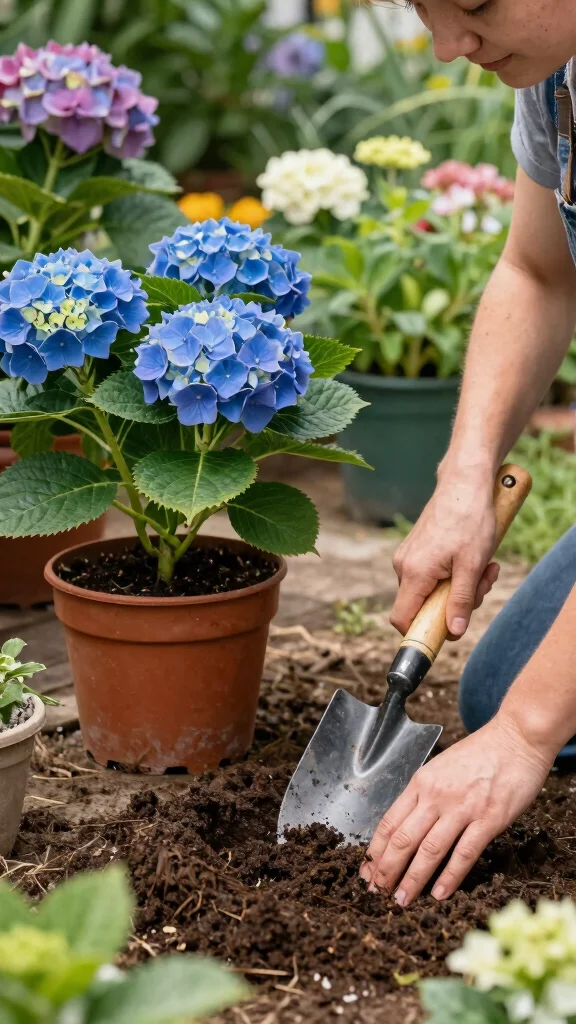
The depth at which you plant your hydrangeas is crucial for their success. If planted too deep, the stems may rot, and the roots will struggle to absorb nutrients and water. Ideally, the crown of the plant should sit level with the soil surface for optimal growth.
When planting, ensure the top of the root ball is exposed to promote healthy development. If you’re dealing with heavy clay soils, consider creating a small mound to elevate the plant.
Planting depth guidelines:
– Keep the crown of the plant level with the soil
– Elevate plants in heavy soils with a mound
– Ensure proper drainage for healthy roots
Getting planting depth right allows your hydrangeas to flourish and produce stunning blooms.
Planting too deep is a rookie mistake that costs hydrangeas their sparkle. Keep the crown level with the soil and expose the top of the root ball; if clay soils demand it, build a tiny mound to lift the plant. Your blooms will thank you.
📹 Related Video: Stop Ruining Your Hydrangeas! 5 Planting Mistakes to Avoid!
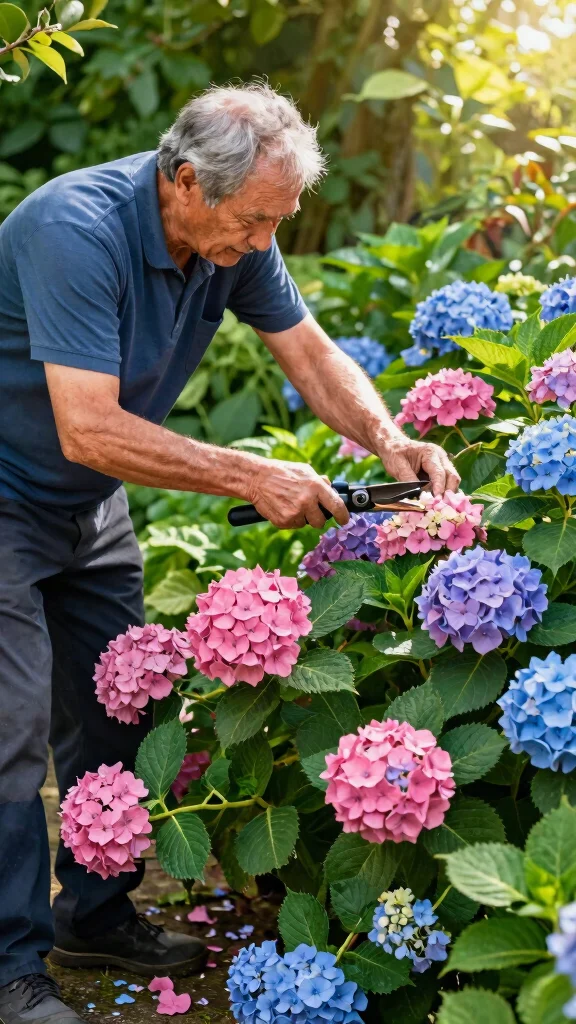
7. Not Deadheading Regularly
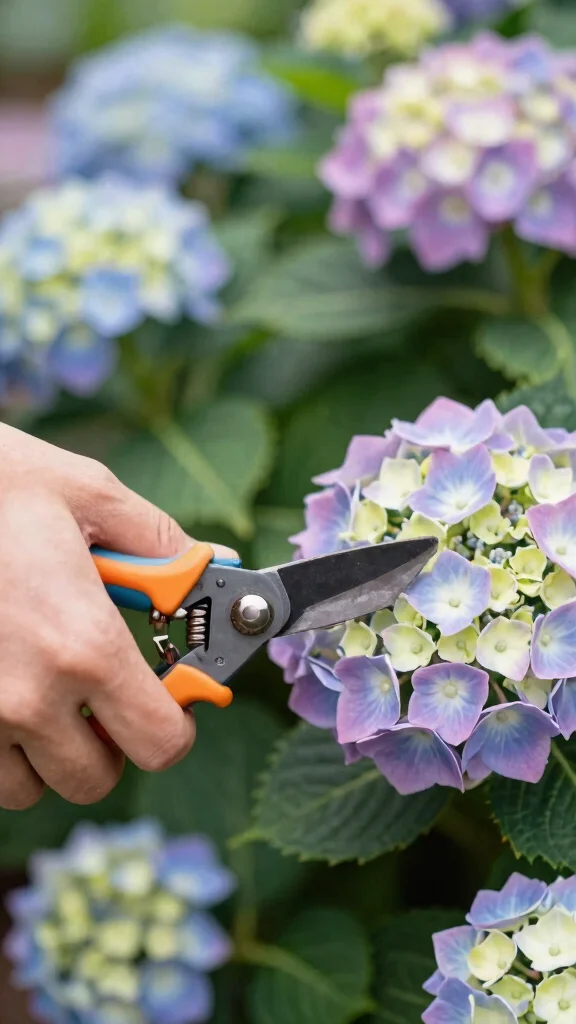
Deadheading your hydrangeas is a simple task that can significantly improve their performance. By removing faded blooms, you encourage the plant to redirect its energy toward producing new flowers instead of maintaining old ones. This practice not only enhances aesthetics but can also prolong the blooming period.
Using sharp, clean shears to make cuts just above a set of leaves will yield the best results. Regularly checking your hydrangeas throughout the blooming season is not just beneficial; it’s also a great way to enjoy your garden.
Deadheading tips:
– Use sharp shears for clean cuts
– Regularly inspect blooms during the season
– Focus on faded flowers for removal
Incorporating deadheading into your routine will lead to a more vibrant and beautiful hydrangea display.
8. Ignoring Pest Control
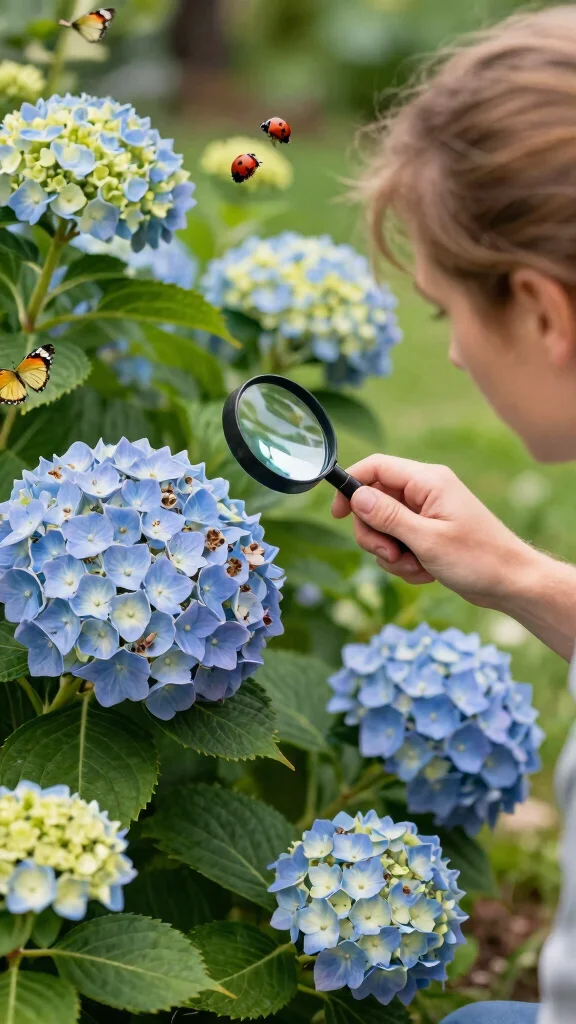
Pests can quickly damage your hydrangeas if not addressed. Aphids, spider mites, and whiteflies can sap the vitality from your blooms. Regular inspections are necessary to catch any infestations early before they escalate into major issues.
Look for sticky residue or damaged leaves as signs of pest problems. Introducing beneficial insects like ladybugs can help control pests naturally, minimizing damage to your plants.
Pest control strategies:
– Inspect plants regularly for signs of pests
– Introduce beneficial insects to combat infestations
– Choose organic pesticides to protect your garden
Being vigilant about pest control ensures your hydrangeas remain healthy and vibrant throughout the season.
Did you know? A single aphid colony can multiply to 100+ in a week, draining a hydrangea’s vigor. Regular inspections catch infestations early, and releasing ladybugs helps control pests naturally without harsh sprays.
You might also like
9. Neglecting Winter Protection
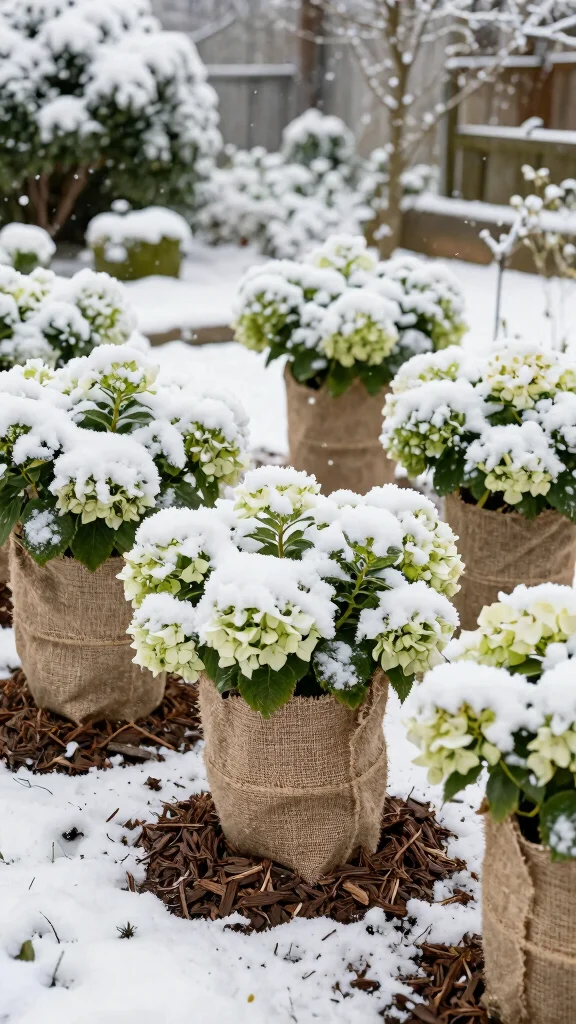
As winter approaches, your hydrangeas need extra care to survive the cold. Without proper protection, you risk significant damage come spring. Depending on the variety, wrapping them in burlap or applying a thick layer of mulch can insulate their roots and keep them safe.
For potted hydrangeas, moving them to a sheltered location away from harsh winds can be beneficial. If your area experiences particularly severe winters, investing in frost cloth can provide additional protection for your plants.
Winter protection tips:
– Wrap plants in burlap for insulation
– Move potted hydrangeas to sheltered areas
– Use frost cloth for extra winter protection
Taking steps to safeguard your hydrangeas in winter ensures they return healthier and more vibrant in spring.
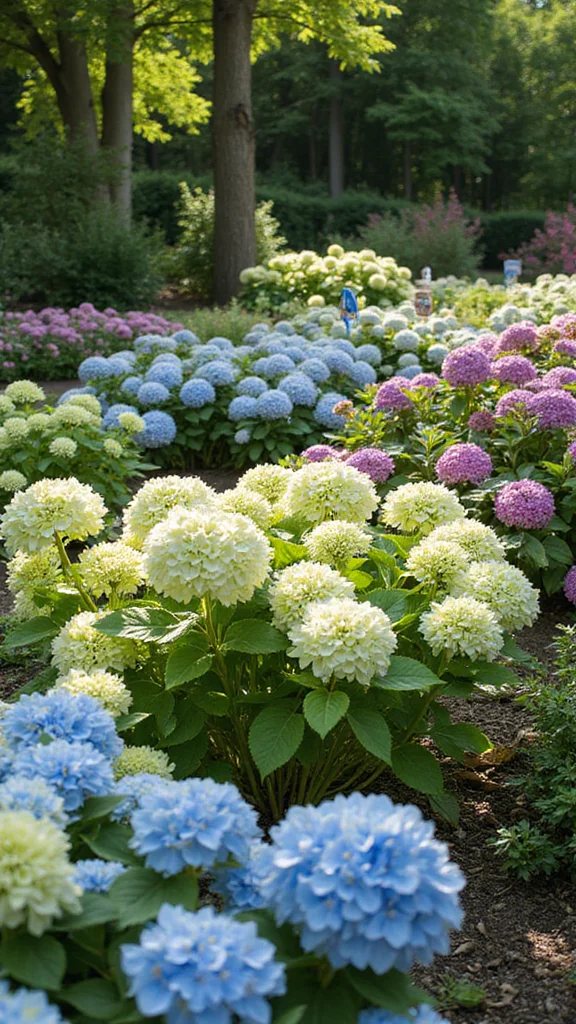
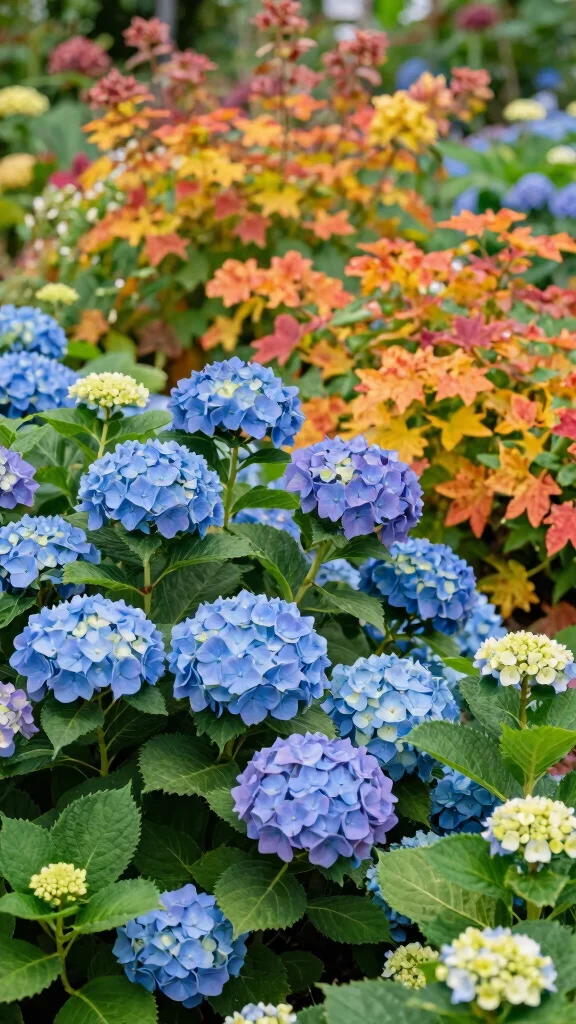
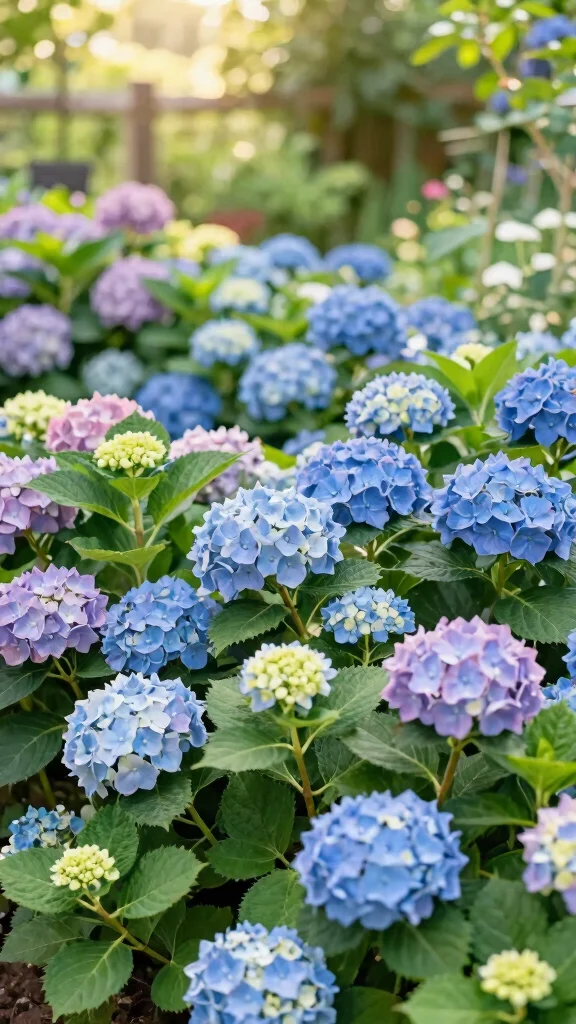
10. Failing to Recognize Variety Differences
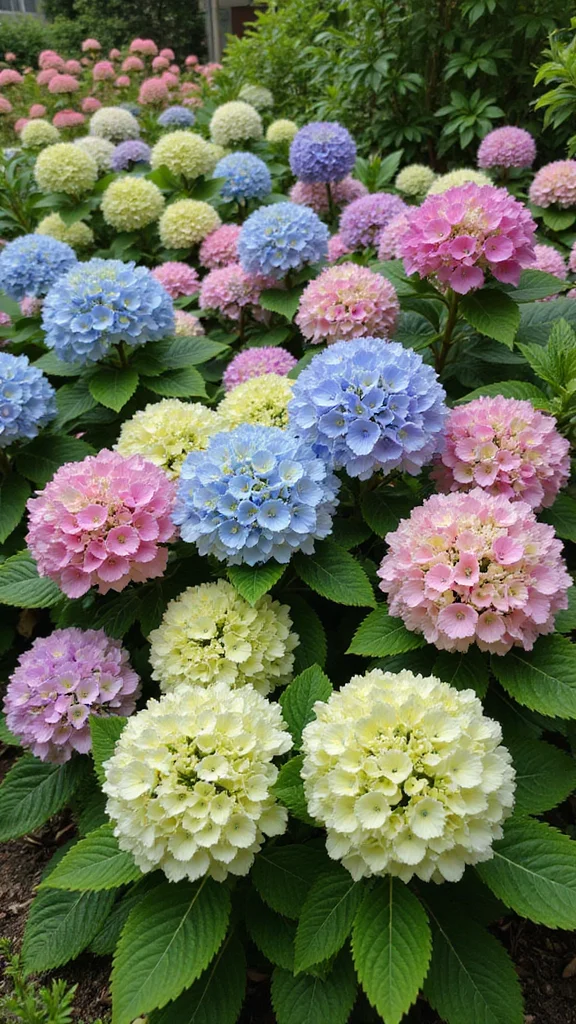
Understanding that different hydrangea varieties have unique needs is vital for success. Whether you have mophead, lacecap, or panicle hydrangeas, knowing their specific characteristics can greatly affect how you care for them. Some bloom on old wood, while others bloom on new wood, changing your approach entirely.
Make a list of the varieties you have, along with their care requirements, to avoid confusion. Joining local gardening groups or forums can also provide valuable insights from other experienced gardeners.
Variety recognition tips:
– List varieties and their specific care needs
– Join gardening groups for shared knowledge
– Research each type to tailor your care
Recognizing these differences leads to a more effective and personalized approach for thriving hydrangeas.
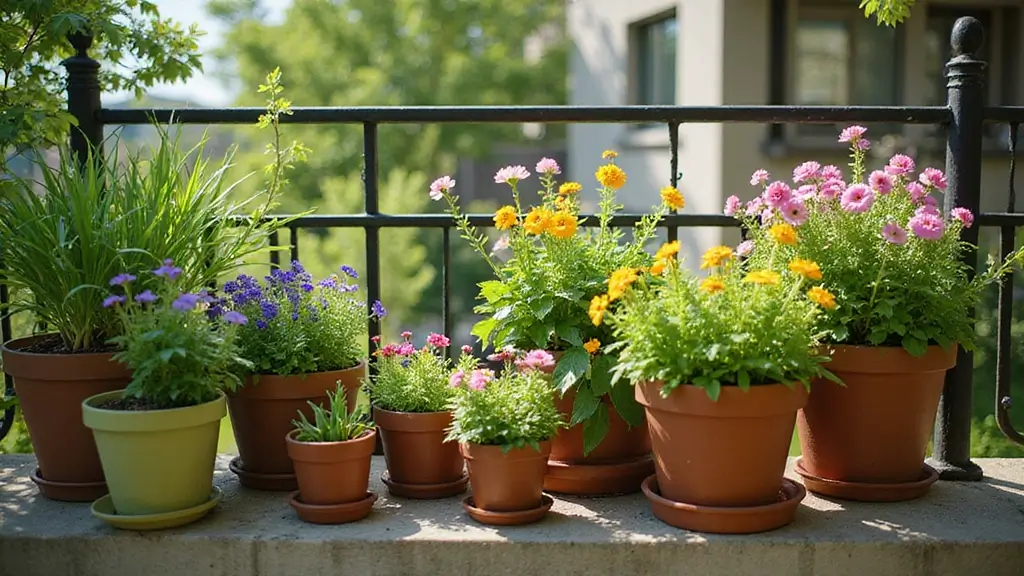
11. Wrong Container Size
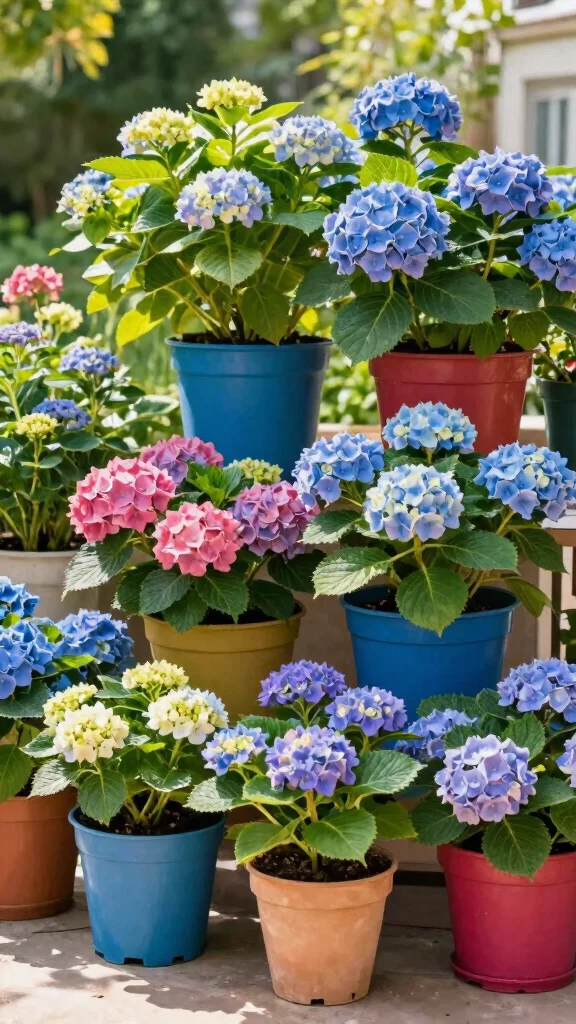
Choosing the right container size is essential for healthy container gardening. A pot that’s too small will restrict root growth, while one that’s too large may retain excess moisture, leading to poor drainage. Aim for a container that’s at least 18 inches wide to allow for healthy growth.
Ensure your container has drainage holes to prevent water pooling at the bottom. If you struggle with consistent watering, consider using a self-watering container for added convenience.
Container gardening tips:
– Select a pot at least 18 inches wide
– Ensure proper drainage to prevent rot
– Use self-watering containers for easy maintenance
Choosing the right container size allows your hydrangeas to thrive, resulting in beautiful blooms and lush foliage.
12. Forgetting About Air Circulation
Good air circulation is crucial for maintaining healthy hydrangeas. Planting them too closely can lead to fungal diseases and pest infestations. Ensure there’s adequate space between your plants to allow air to flow freely, especially in humid climates where moisture can linger.
When planting, aim for 2-3 feet of space between each hydrangea. If you notice overcrowding, consider relocating some plants to promote better airflow.
Air circulation tips:
– Maintain 2-3 feet of space between plants
– Move crowded plants to different areas
– Ensure good airflow for overall plant health
Good airflow contributes to healthier hydrangeas and extends their blooming period.
13. Neglecting Weeding
Weeds can silently compete with your hydrangeas for essential nutrients and water. Keeping your plants weed-free is vital for their success. Regular weeding not only ensures your hydrangeas receive the resources they need but also keeps your garden looking tidy and well-maintained.
Pulling weeds by hand or applying mulch around your plants can help suppress their growth. Consider planting ground cover as a natural way to keep weeds at bay.
Weeding strategies:
– Pull weeds by hand for better control
– Use mulch to suppress weed growth
– Introduce ground cover plants for natural weed prevention
Maintaining a weed-free environment allows your hydrangeas to flourish and produce stunning blooms.
14. Overlooking Insect Damage

While checking for pests, don’t forget to look for signs of insect damage on your hydrangeas. Discoloration, leaf curling, and webbing can indicate pest issues that need addressing. Early detection is crucial in minimizing damage and ensuring your plants remain strong and vibrant.
Regularly inspect the undersides of leaves, where pests often hide. Using insecticidal soap or neem oil as a preventative measure can help keep unwanted pests away.
Insect damage prevention tips:
– Inspect undersides of leaves for pests
– Use insecticidal soap or neem oil for protection
– Stay vigilant to catch issues early
Being proactive about insect damage ensures your hydrangeas remain healthy and ready to bloom beautifully.
You Might Also Like
15. Failing to Rotate Plant Locations
Rotating your hydrangeas’ planting locations can rejuvenate the soil and promote healthier growth. This practice helps prevent soil depletion and reduces the risk of disease build-up in one area. Changing their spots every few years can significantly enhance their vitality.
Mark your garden beds to keep track of which plants were in each location. Utilizing companion planting can also enhance the benefits of rotation, introducing plants that can improve soil health.
Rotation tips:
– Change planting locations every few years
– Mark beds for easy tracking
– Use companion planting to boost soil health
Incorporating rotation into your gardening routine fosters a healthier environment for your hydrangeas to thrive.
16. Skipping Companion Planting
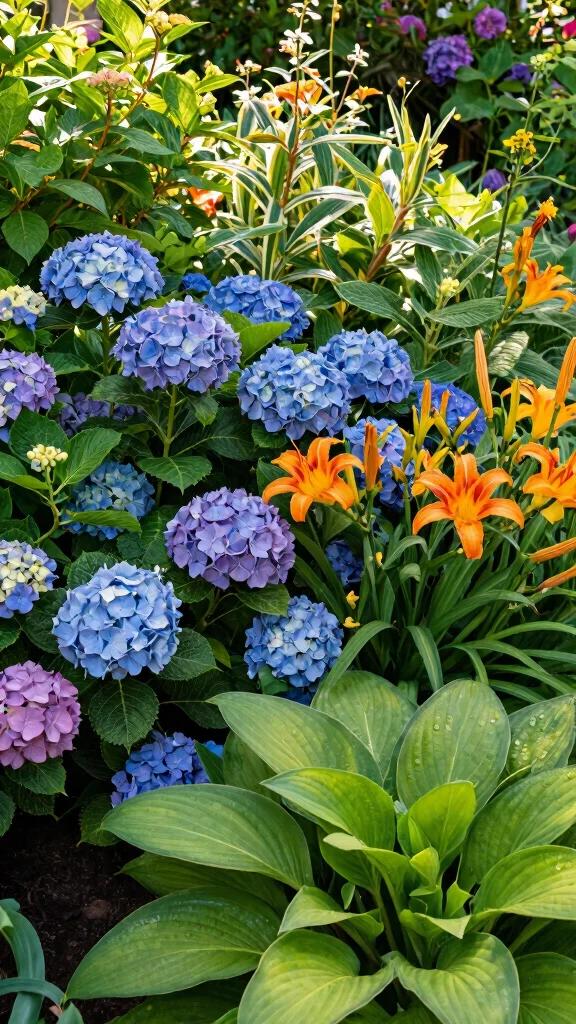
Companion planting can greatly enhance the growth and health of your hydrangeas. Pairing them with complementary plants can lead to a more vibrant and diverse garden. Daylilies and hostas, for example, provide a beautiful backdrop while helping maintain soil moisture.
Research plants that thrive alongside hydrangeas to achieve the best results. Creating layers of height and color in your garden not only looks appealing but also supports the health of your hydrangeas.
Companion planting tips:
– Research compatible plants for hydrangeas
– Create layers for visual interest
– Select plants that support soil moisture retention
Embracing companion planting will cultivate a thriving ecosystem that allows your hydrangeas to shine even brighter.
17. Not Using Mulch
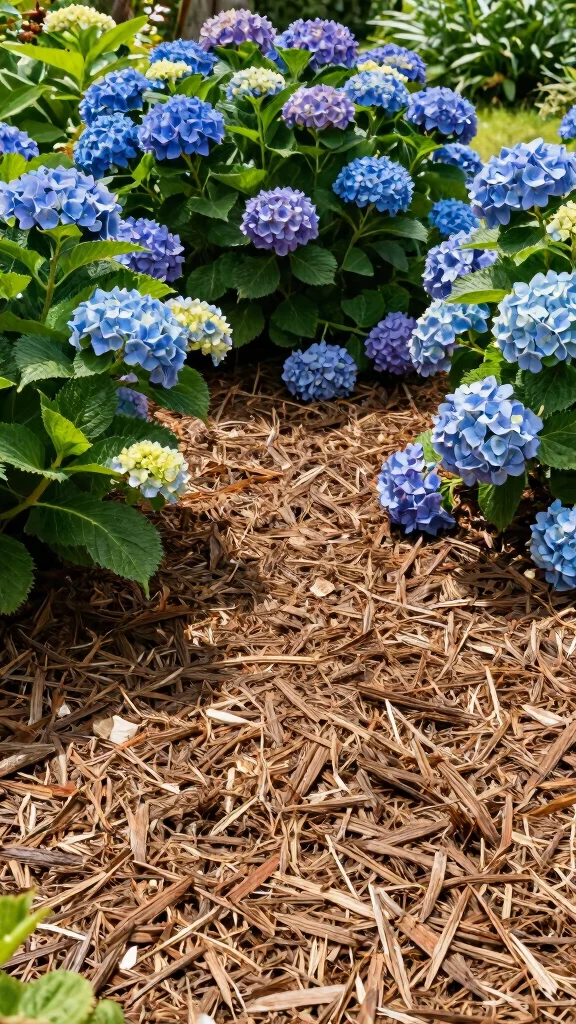
Mulch is an essential element for any hydrangea garden! It helps retain moisture, suppress weeds, and regulate soil temperature. Applying a layer of organic mulch around your plants can greatly improve their growing conditions and overall health.
Using materials like shredded bark, wood chips, or straw for mulch can yield the best results. Be sure to keep the mulch a few inches away from the stems to prevent rot.
Mulching strategies:
– Use organic materials like shredded bark or wood chips
– Keep mulch away from plant stems
– Apply a generous layer for maximum benefits
Incorporating mulch into your care routine will lead to healthier hydrangeas and more vibrant blooms.
Mulch isn’t just decoration—it’s a moisture-saving shield for hydrangeas. Lay down an organic layer (bark, wood chips, straw) a few inches from the stems to prevent rot, and you’ll cut watering needs and weed work in half.
18. Overlooking Seasonal Variations
Seasonal changes can significantly affect how you care for your hydrangeas. Adjusting your techniques according to the weather ensures your plants thrive under the right conditions. For instance, during hot summer months, they may need more frequent watering, while fall requires preparation for winter.
Monitoring local weather forecasts helps you make timely adjustments. Keeping a gardening journal to track what works best throughout the seasons can also provide valuable insights.
Seasonal care tips:
– Adjust watering based on seasonal needs
– Monitor local weather for adjustments
– Keep a gardening journal for tracking
By adapting your care to seasonal variations, you’ll give your hydrangeas the best chance to thrive year-round.
19. Abandoning Regular Maintenance

Consistent maintenance is key to keeping your hydrangeas in top shape. Ignoring them can lead to various issues, including pest infestations and poor blooming. Dedicating time each week to check, prune, and care for your plants ensures they receive the attention they need to flourish.
Creating a simple garden care schedule that includes watering, deadheading, and inspections can simplify the process. Involving family members or friends in garden upkeep can also share the joys and responsibilities of maintaining your space.
Maintenance strategies:
– Set aside time each week for plant care
– Create a simple garden care schedule
– Involve others to share responsibilities
Committing to regular maintenance enhances the beauty of your garden and creates a nurturing environment for your hydrangeas.
Conclusion
Caring for hydrangeas can be a delightful journey filled with vibrant blooms and gorgeous colors. By avoiding these common mistakes, you’ll be well on your way to creating a stunning garden that showcases the beauty of these flowers.
Make it a habit to learn about the specific needs of your plants, stay proactive about care, and enjoy the process. Your hydrangeas will thank you with breathtaking displays year after year!
Frequently Asked Questions
What are the most common hydrangea care mistakes to avoid in container gardening?
Container hydrangeas can be stunning, but these mistakes are easy to make. Avoid using heavy garden soil in pots; always use a light, well-draining potting mix. Make sure your container has drainage holes and is appropriately sized for the root system. Water consistently—neither soggy nor bone-dry soil. Provide bright, morning sun with some afternoon shade for most varieties. Avoid over-fertilizing; follow label directions and use a balanced mix. Don’t prune at the wrong time; pruning can cut off next year’s blooms. Deadhead spent flowers to encourage rebloom. Mulch to retain moisture and protect roots. In winter, protect potted plants from freezing winds. Watch for salt buildup from fertilizer and keep water quality in check; flush pots with fresh water every few weeks. Great flower care and practical gardening tips will keep your container hydrangeas thriving.
Is baking soda for hydrangeas a good trick to adjust soil pH in containers?
Short answer: not really. Using baking soda for hydrangeas is risky in containers. It can raise soil pH too quickly and leave salt residues that stress roots. Instead, test your soil pH and adjust gradually with safer methods. For more blue blooms, lower pH with elemental sulfur or a soil-acidifying fertilizer; for pink blooms, raise pH with dolomitic lime. In containers, because the mix is compact and salts accumulate, re-test every 4–8 weeks and avoid swings. Use rainwater if possible to help maintain stable conditions. Focusing on steady flower care and practical gardening tips will support color and bloom.
How often should I water hydrangeas in containers to avoid common watering mistakes?
Hydrangeas in containers drink a lot of water, especially in heat. Check soil daily and water deeply when the top inch is dry. In hot weather, you may need to water morning and evening. Water at the base until water runs out of the drainage holes to encourage deep roots. Use a potting mix that retains moisture but drains well, and add mulch to reduce evaporation. If your pot sits in a saucer, empty excess water so roots don’t stay waterlogged. This simple routine is a core part of flower care and handy gardening tips for container hydrangeas.
What pruning approach keeps container hydrangeas blooming without harming next year’s display?
First identify your hydrangea type: bigleaf (macrophylla) vs panicle (paniculata) vs others. Most container bigleaf hydrangeas bloom on old wood, so prune right after flowering to avoid removing next year’s buds. If you have a variety that blooms on new wood, prune in late winter or early spring to encourage new growth. Remove dead wood and spent flowers gradually; avoid heavy pruning that reduces bloom. When pruning, use clean, sharp tools and sanitize between cuts to prevent disease. In containers, keep a balanced shape to prevent crowding, which helps flower production. This aligns with flower care and gardening tips.
How can I prevent root-bound hydrangeas in containers and keep them thriving year after year?
To prevent root-binding, choose a pot that is 2–3 inches wider than the root ball and has drainage holes. Use a high-quality, well-draining potting mix designed for shrubs or hydrangeas in containers. Plan to repot every 1–2 years before roots circle the pot; gently loosen tangled roots or prune a little if needed. When repotting, refresh the soil surface and water thoroughly to re-establish roots. Avoid letting pots sit in waterlogged saucers; ensure good drainage. Apply a balanced or slow-release fertilizer according to label, and flush salts periodically by leaching with water. With a healthy root system, your hydrangeas in containers will thrive and bloom beautifully.
Related Topics
hydrangea care
container gardening
flower care
gardening tips
baking soda benefits
easy gardening
beginner friendly
common mistakes
seasonal blooms
plant health
colorful flowers
outdoor decor